Crafternoon: Bath Bombs

Looking for something to do with children during spring break. Try a craft and whip up some bath bombs during crafternoon. Bath bombs are easier to make than you would think.

 With four ingredients, you and your child(ren) can make bath bombs. Take the ingredients below and mix them in a bowl. Then get a mold and shape the ingredients into a ball. That is it.

 Supervise children at all times. Wear gloves. Follow safety considerations for children. This activity may need to be adjusted depending on the child’s age and/or ability.

 Next time your children are bored, make some special bath bombs and memories.

 Ingredients:

¼ Cup             Cornstarch  

2 ¼ Cups       Baking Soda

¾ Cup            Coconut, Canola, Sweet Almond, or Other

1 ¼ Cups       Granular Citric Acid (look for this in the canning section of grocery store)

1 Teaspoon  Essential oil or fragrance (optional)

½ Teaspoon Liquid Color (optional)


Young at Art in Heartland

She asked if I’d like to do a hands-on workshop for the virtual conference. Participants are early childhood professionals. I wasn’t sure what I would do to fit their theme, but immediately I said “YES!” Didn’t even have to think twice about accepting her invitation. Of course! I am thrilled anytime someone invites me to play.

Her invitation and request for an activity-based presentation that people can do from their computers for the virtual workshop dovetailed into other projects for which I’ve been spending time on. The projects have to do with two men. Both of them with the name Henri.

Robert Henri was an artist from rural Cozad, NE. His portraits of children grace the walls of the art museum and gallery in the boyhood home where he grew up less than an hour from where I live. My friend, Dr. Dana Vaux from UNK, and I have been doing an experiential education project with our college students who design spaces at the public Henri art museum to create pathways for community engagement for families and children. Our college students in design studio learned about ways to consider the environmental needs of families with infants, toddlers, preschoolers and young children that they incorporated into their design plans. For example, one of our students created a private space for nursing mothers. Another student added soft features like low furniture and pillows for infants and toddlers in the gallery. Partners at the museum listened to all the student pitches and provided input into designs. Students learned how to consider children and families as they design inclusive spaces to promote participation while we also strengthened partnerships with nearby community partners.

Cozad artist, Robert Henri, was a gifted educator who taught many famous artists like Edward Hopper and a group of male and female artists called the “Immortal Eight.” Robert Henri was an educator who is immortalized in the book “Art Spirit” written by his student Margery Ryerson who captured his teaching philosophy and techniques. I love how Robert Henri encouraged female artists in the early 1900s when it was uncommon to do so. I want to share this rich heritage from my state with others.

The other artist is Henri Matisse. He made a comeback at the end of his life when he suffered a setback. His innovative approach to using scissors in his art toward the end of his life to make shapes and designs in primary colors is how he was able to express himself when he became disabled. He was unable to physically do the kind of art he did earlier in his career and discovered he could physically use scissors to express his creativity.

With my two favorite Henris in mind…here is what I came up with for her conference that fit the healthy and fit children theme: Hearts!

The workshop is entitled, “Integrating Assessment with an Embedded Learning Activity: Hula from the Heartland.”

Teachers come to the virtual workshop with materials. Before the workshop their homework is to felt wool. I ask them to get an old sweater made from 100% wool. If they don’t have an old one they can use for this activity, then I encourage them to search for affordable and natural wool. Second hand and consignment shops, as well as tag sales (garage, yard and estate sales) have wool sweaters. It needs to be 100% pure wool in order for this to work. I give them directions to wash their wool at least once on HOT setting of washing machine. More washings is better, but once should be enough. Then throw the sweater in the dryer. When washing and drying is done the sweater shrinks and the fibers become tight and felted.

Once the wool is ready, then we make our hula hearts from the felted wool. What the heck is a hula heart? Early childhood teachers are given homework before the workshop to cut their hearts out of the wool sweater. In the style of Henri Matisse, hearts are cut out in a variety of sizes. No two are alike. That’s it for homework. Next, they hop on zoom for the workshop and bring the wool hula hearts.

Hula Hearts will be used to do Hula from the Heartland. Here in the Midwest we can dance hula to the song, “Pearly Shells.” In addition to the wool, we will need a way to play the Pearly Shells song. I have it on my phone in my music library. This song has come in handy when I play with children. I’ve used it while waiting in lines, playing outdoors at Thanksgiving dinner with family, and more. Good to have songs with finger plays and movement ready for such occasions when you have young children in your life. Chicken dance, hokey pokey, twinkle twinkle, and more are examples of songs that can be used to create interactive activities.

Okay now on to the next thing in our Hula from the Heartland activity. Review vocab. Review hula movements for vocabulary in the song. For example, when hearing the word “shell” bend down and act out picking up a seashell from the beach floor. When hearing the word “ocean,” sway arms and hips to replicate ocean waves. Pretend to use spyglass or binoculars when the word “see” comes up in the song. We practice together the movements. Then we dance hula to the song using hearts as a prop.

We have a conversation about how we can do this with our children. Possible examples are: (a) have children pretend the hearts are pearly shells, (b) teach the hula movements for the song, and (c) incorporate music and movement with fine arts. We talk about universal design elements of the activity for all children, as well as how to individualize for children who need accommodations. We then brainstorm developmental domains that are strengthened from doing Hula from the Heartland. Here is a brief list of what children could develop and learn across areas/domains from this activity:

Fine motor- children pick up shells/hearts with hands and fingers. Pincer grasp (or whole hand adaptation) can be used as toddlers and preschoolers use their eye hand coordination to do that part of the hula dance when they hear the word “shells.” If children have motor skills to do it, have them cut our hearts from the wool.

Gross motor- children will stand during the hula dance with bending and stooping when they pick up shells/hearts from the “beach” floor.

Adaptive- an extension activity could be to eat/drink foods during mealtime from Hawaii, like guava or pineapple juice.

Cognitive- children can discuss shapes and colors of the shells/hearts they find.

Social emotional- ask children to share things they like when they use the heart to share their loves.

Communication- facilitate receptive language by asking children to pick up a shell from the beach (one step direction); facilitate expressive language by having a conversation about beaches or hearts and encourage children be listener when others speak and talk when they have something they’d like to share (turn taking, social rules of communication).

Early literacy- children can learn some lyrics from the song. Extend the activity by incorporating Hawaiian poetry, picture books, and stories with children.

Early math- children learn one-to-one correspondence when they focus on each hula heart. Help them count their shells/hearts. Or facilitate their learning by prompting them to use math skills to talk about sets of hearts and other attributes. The sky is the limit here. Use your imagination and knowledge of your child’s zone of proximal development to individualize for each person based on what they can do.

These 8 areas/domains will be used to monitor what children learn. We can observe children to see how they are developing across the 8 areas. The responsive environment and teachers’ engagement with children are the secret ingredients. Have fun. Always! Children know when we are enthusiastic or just phoning it in. Show them how much you love them by giving each activity thoughtful consideration and your LOVE. We are all young at art when we do hula from the Heartland.
Hearts made from 100% wool.


You Can Do It!

Create some art for home with our little ones. With families spending more time at home, here is an activity to do with children using recycled tin cans depending on the child’s age and/or developmental abilities.

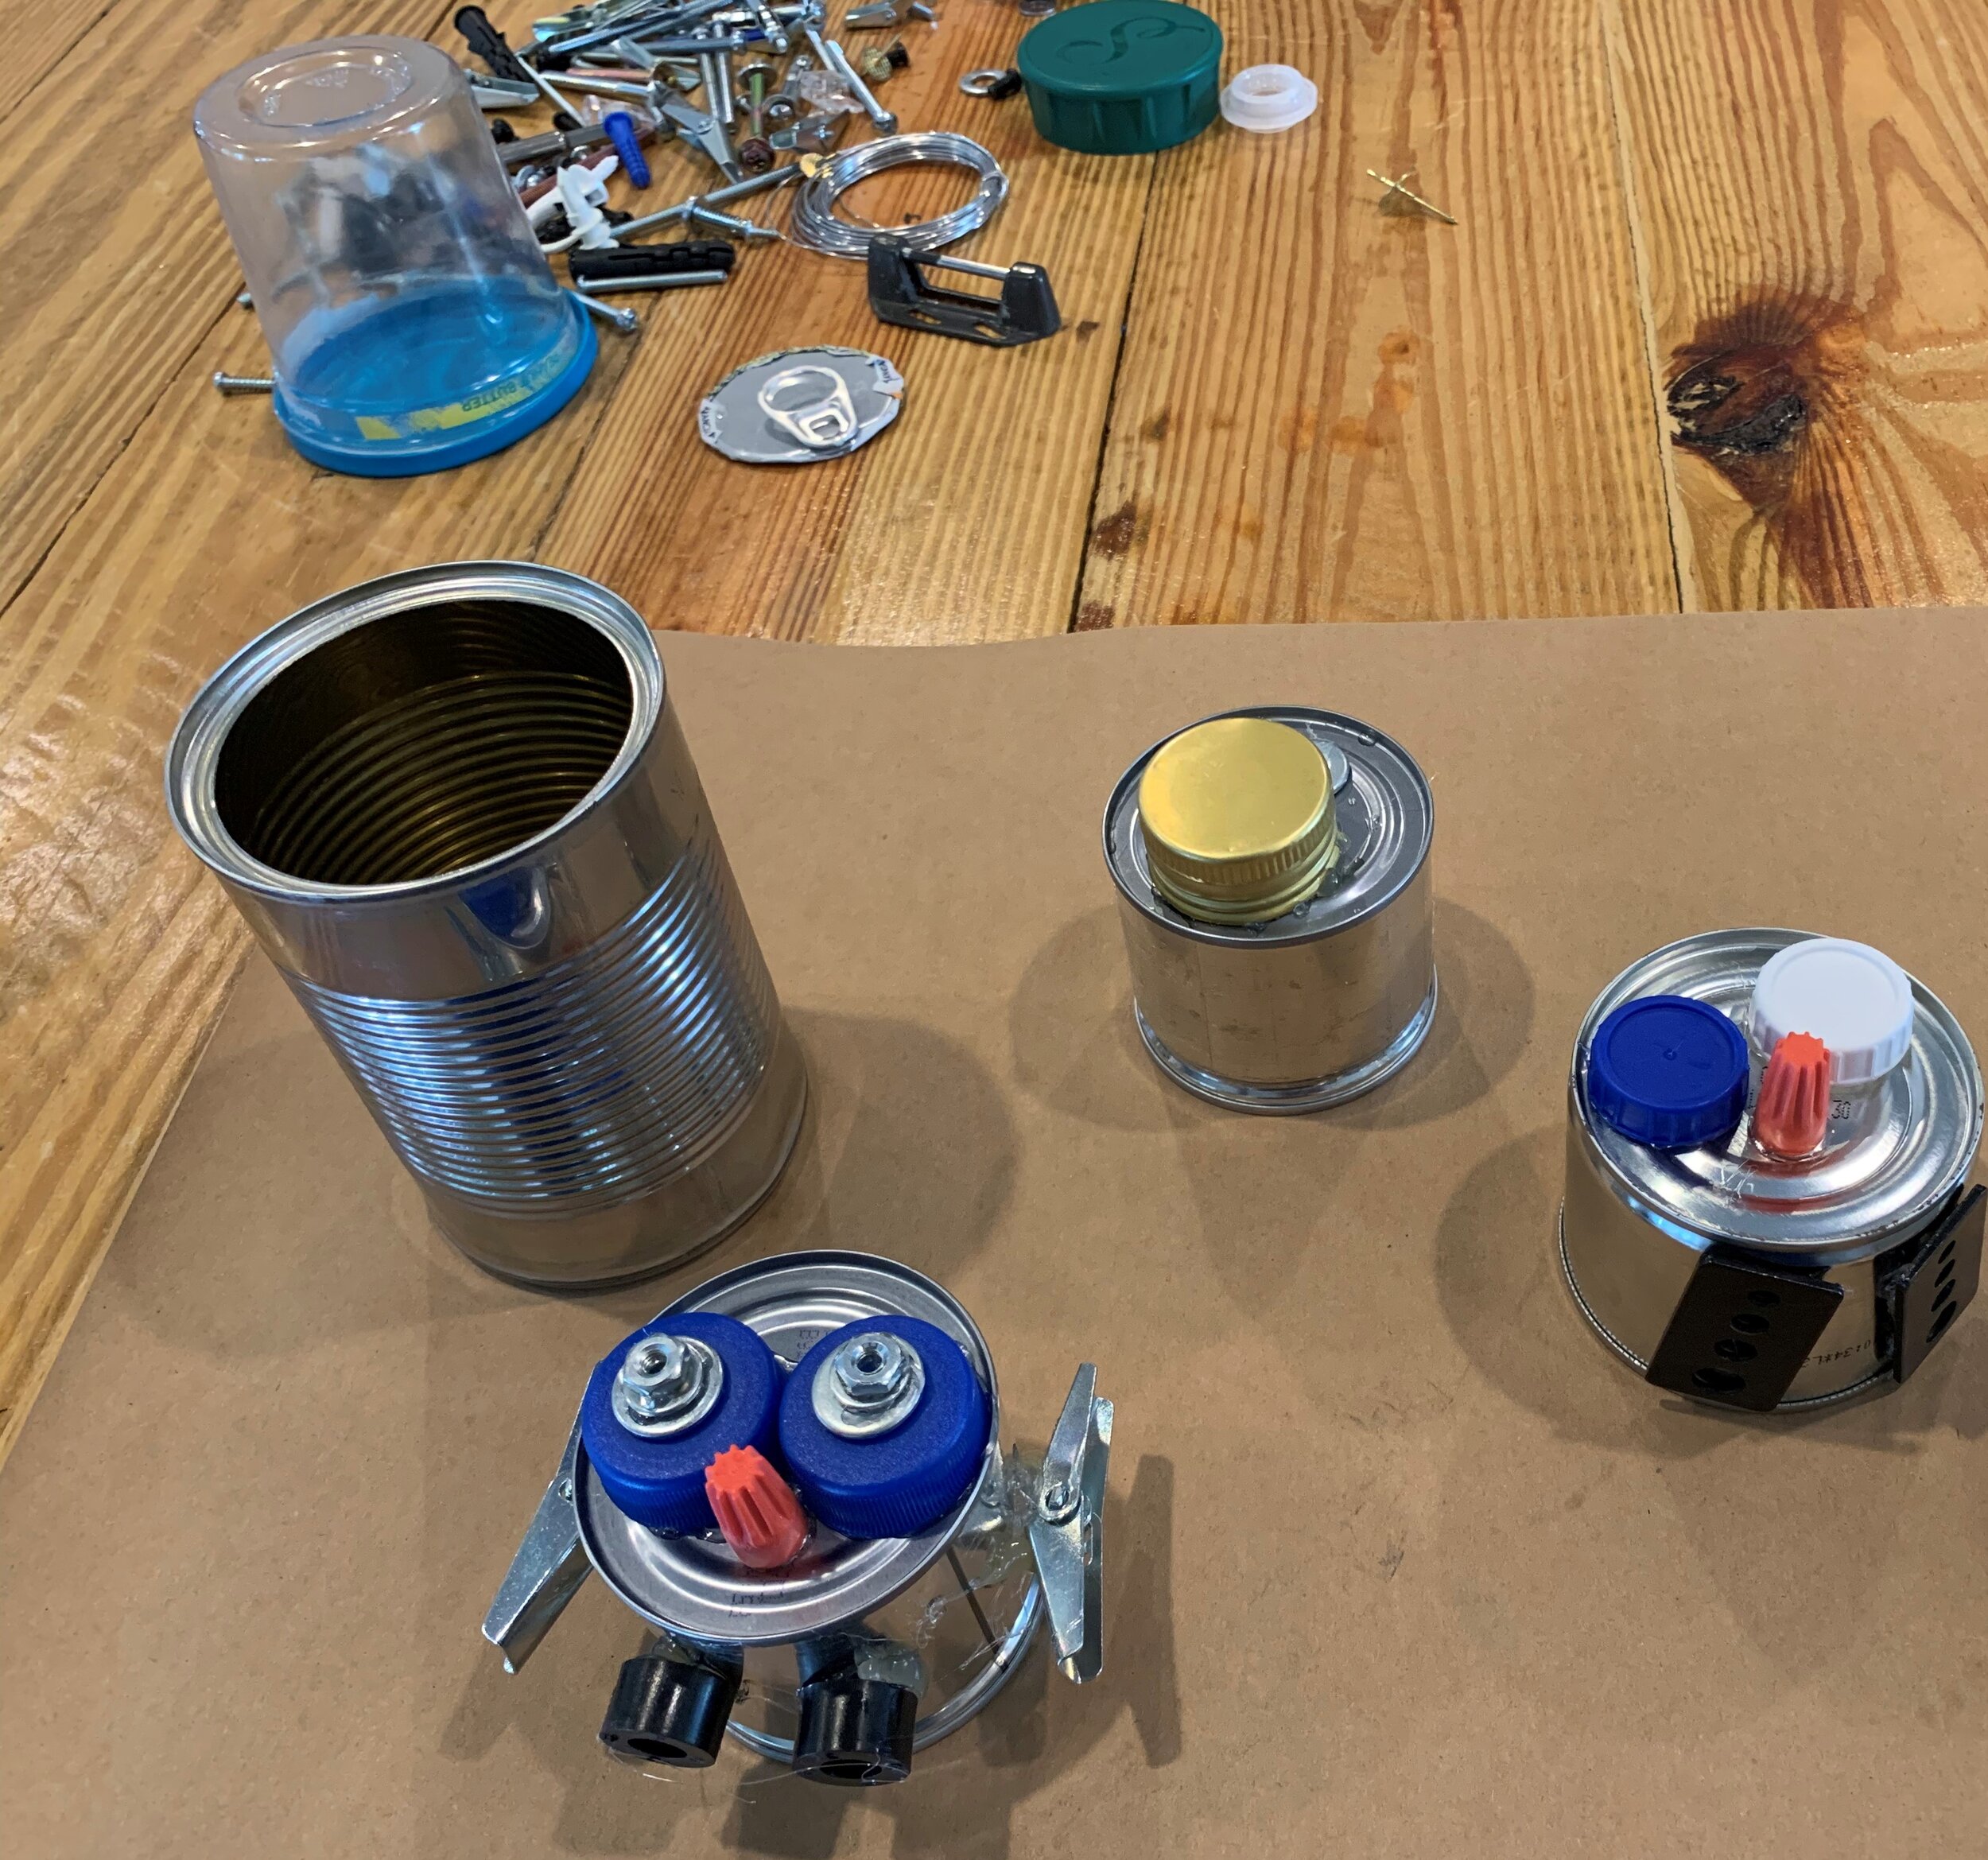
Make animals from cans. Here my little one and I cleaned out our junk drawer and got things to glue on the cans to make owls. Be sure to set the activity up for safety and supervise children at all times. Can you have fun repurposing tin can. Yes! Yes, you CAN do it!

recycled can art.jpeg

Small Moments, Big Memories!

“Great things are done by a series of small things brought together.” ~Vincent Van Gogh

Marisa Macy.jpeg

I love the above quote by post-impressionist painter, Vincent Van Gogh. It reminds me that great things come from small beginnings. To me, I feel like Van Gogh was talking about the importance of tiny, little, miniature moments. Small things and moments that are brought together can make a big difference. It is the daily activities and routines that can have a meaningful impact on a child’s overall development. 

When I was little, mealtime routines were a big event at my home and school. Every night my family sat around the table to eat dinner together. At school, we sat at our desks during lunch time. Tucked into my 1970s Donny & Marie Osmond lunchbox was evidence of my mother’s love when I was at school. I was so proud of that lunchbox. A former cool whip container held homemade pasta and meatballs, piece of fruit, spoon, and washcloth. It wasn’t until some of the girls in my class made fun of my food that I became self-conscious about what was in my lunchbox. I started to feel embarrassed by the ethnic food my Italian family sent me to school with and the recycled vessels like cool whip containers and butter tubs. Today I feel embarrassed that I was embarrassed by my school lunch. I remember feeling like I wanted to fit in with the other kids and have a lunch of peanut butter and jelly on plain Wonder bread. When I became a teacher, I tried to help my students feel proud of their heritage and culture. It is who we are.

If you celebrate Valentine’s Day, I have an activity you can do that celebrates reusing and recycling common household objects (like my parents did with cool whip and butter tub containers). Take a container that holds plastic or aluminum wrap. Remove the contents and the jagged edge that cuts the wrap/film or aluminum. This should leave your box smooth and safe to now decorate to your hearts content. In this picture you can see we painted the box and added wallpaper to the top lid. You and your children can create yours any way you like. Play with creativity. Once you have your box beautifully decorated, fill it with a yummy treat. We rolled Oreo cookies in frosting and sprinkles.

box of cookies.jpeg

What would Van Gogh do? I think he would create lasting things. We can too. Create lasting memories out of the common daily activities and objects. During the pandemic many parents are looking for things to do with their little ones because we are spending so much more time together at home. Give children a scavenger hunt and have them find objects around the house that can be repurposed to create a Valentine’s gift ala the box of goodies. Reuse and recycle household object(s) to create beautiful artistic gifts for your loved ones. You can turn the small moment into a big memory for your child. Happy Valentine’s Day!

Valentine cookies 2.jpeg

Salt Dough Ornament

Looking for something fun to do with the amazing children in your life. How about a fun craft?! I recently made salt dough ornaments with my little one. Here is what we did.

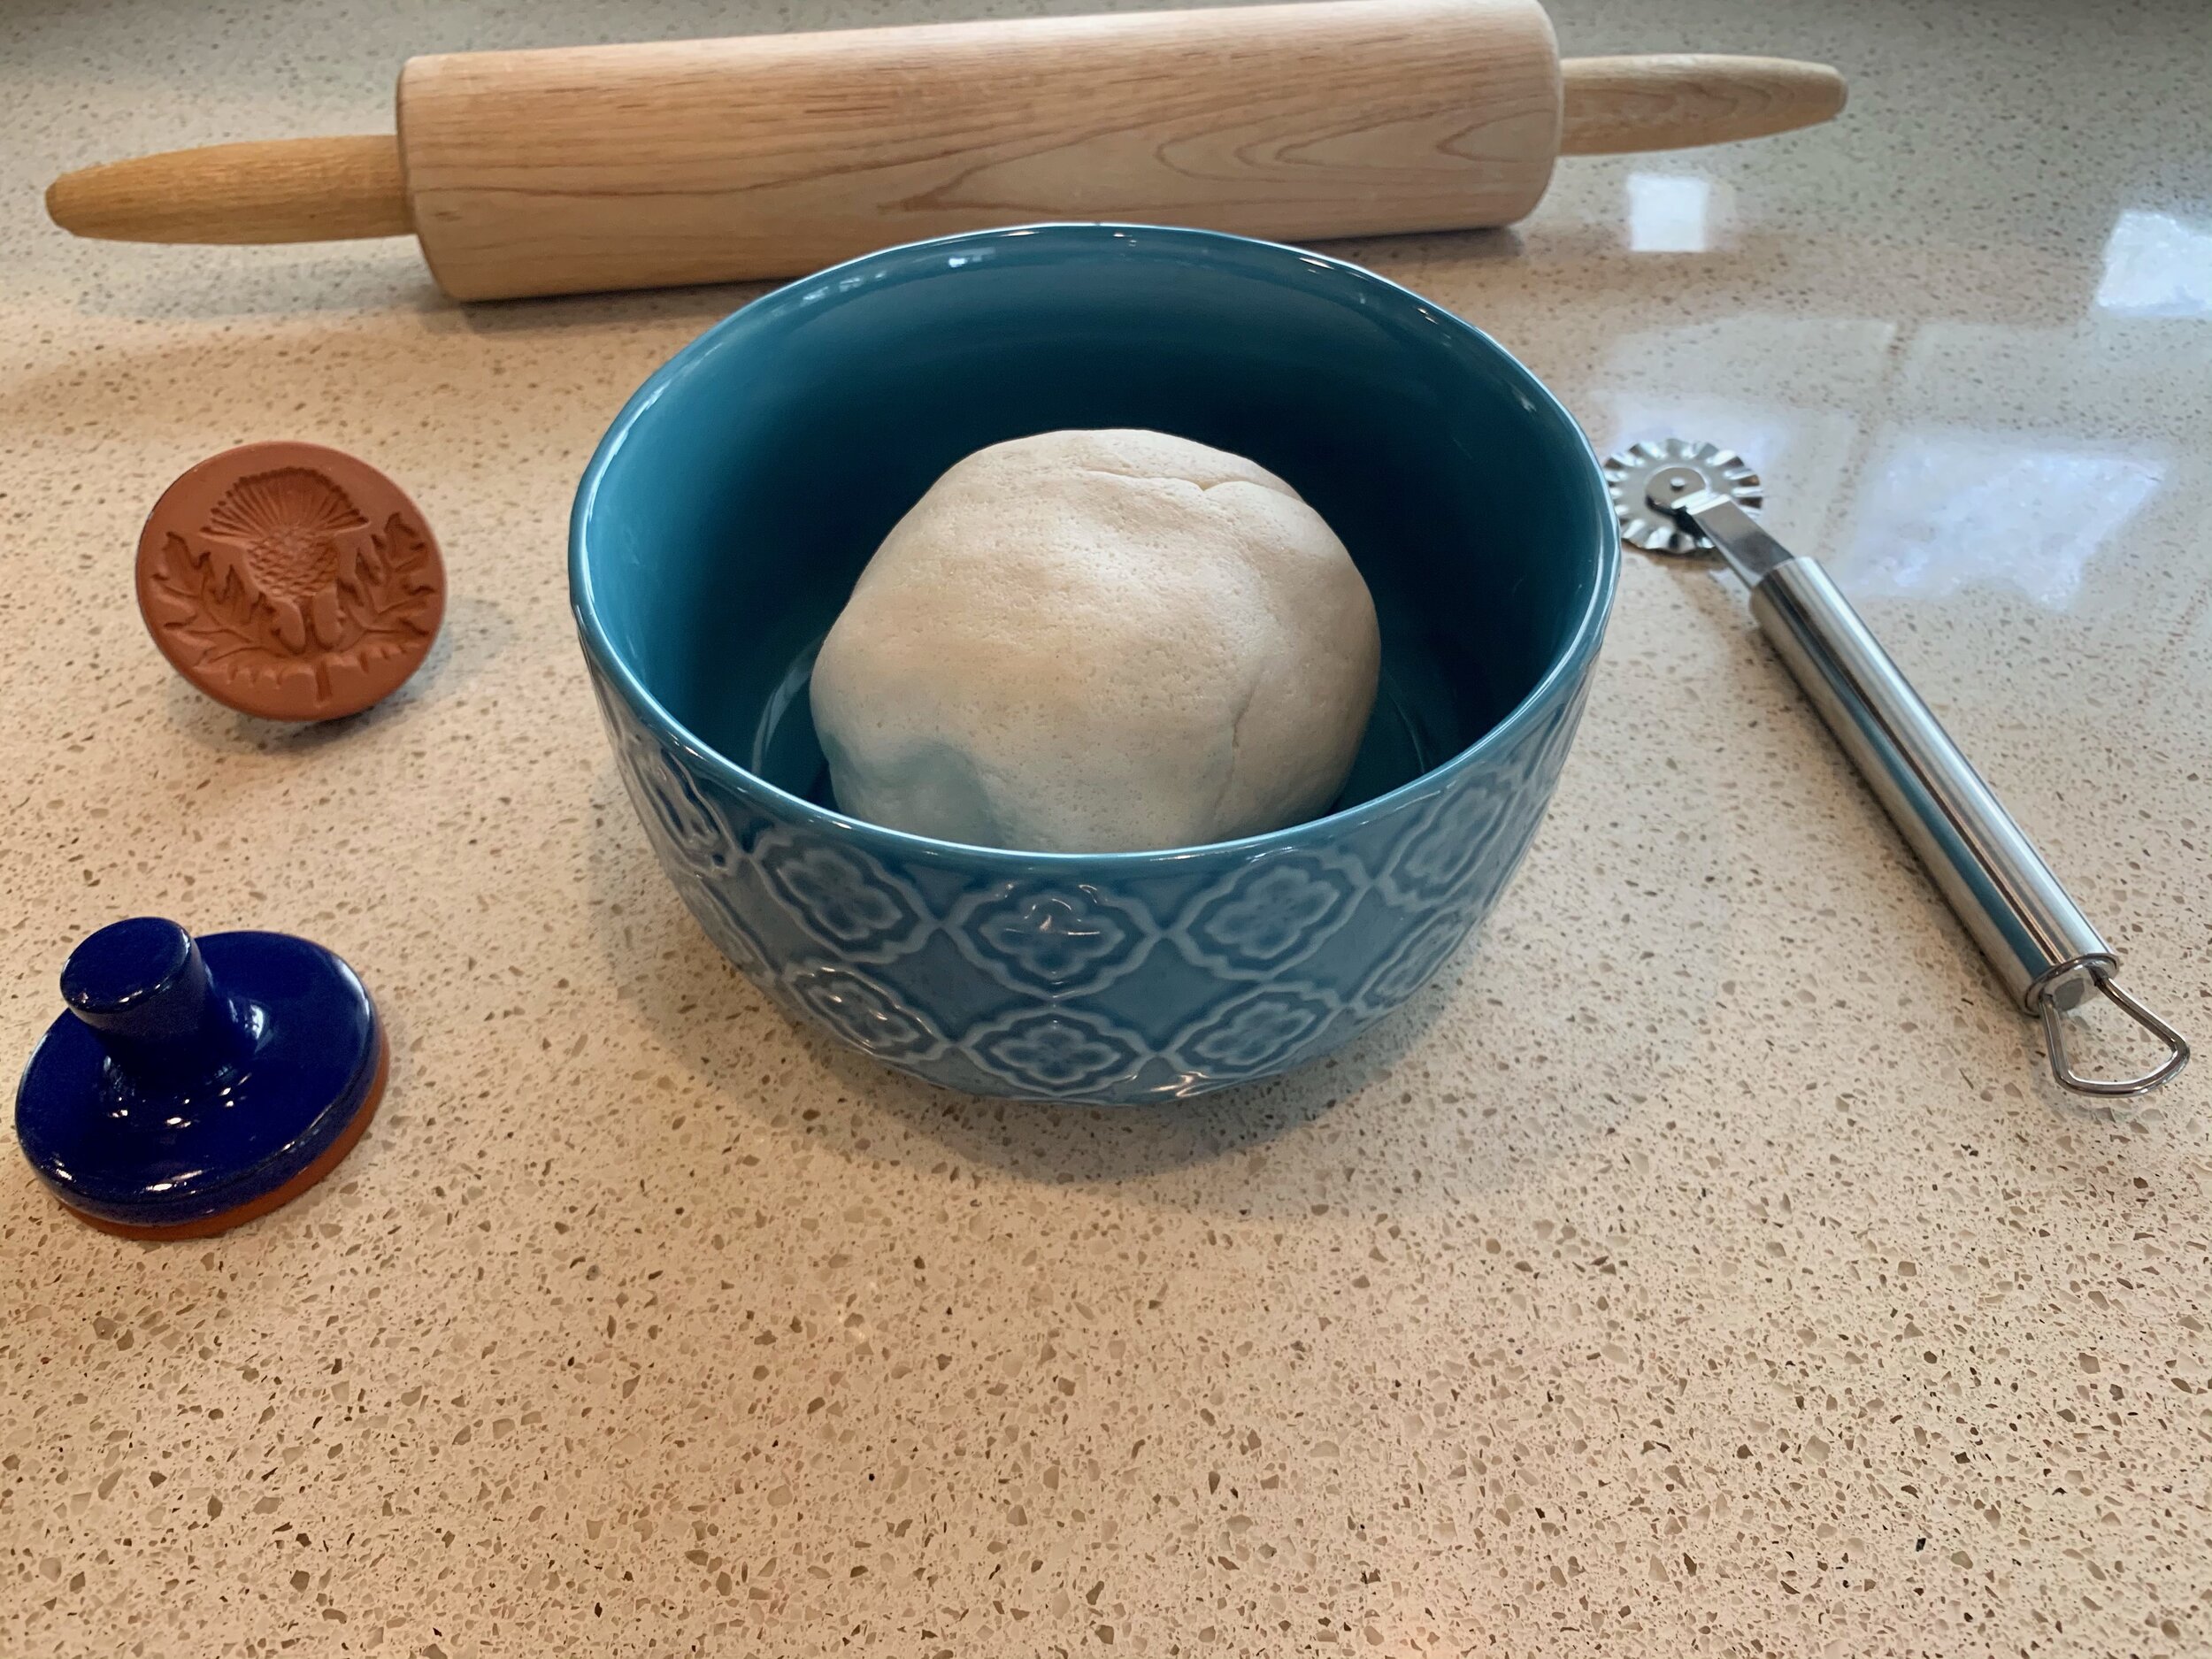
First, we made the dough (recipe below).

Salt Dough .jpeg

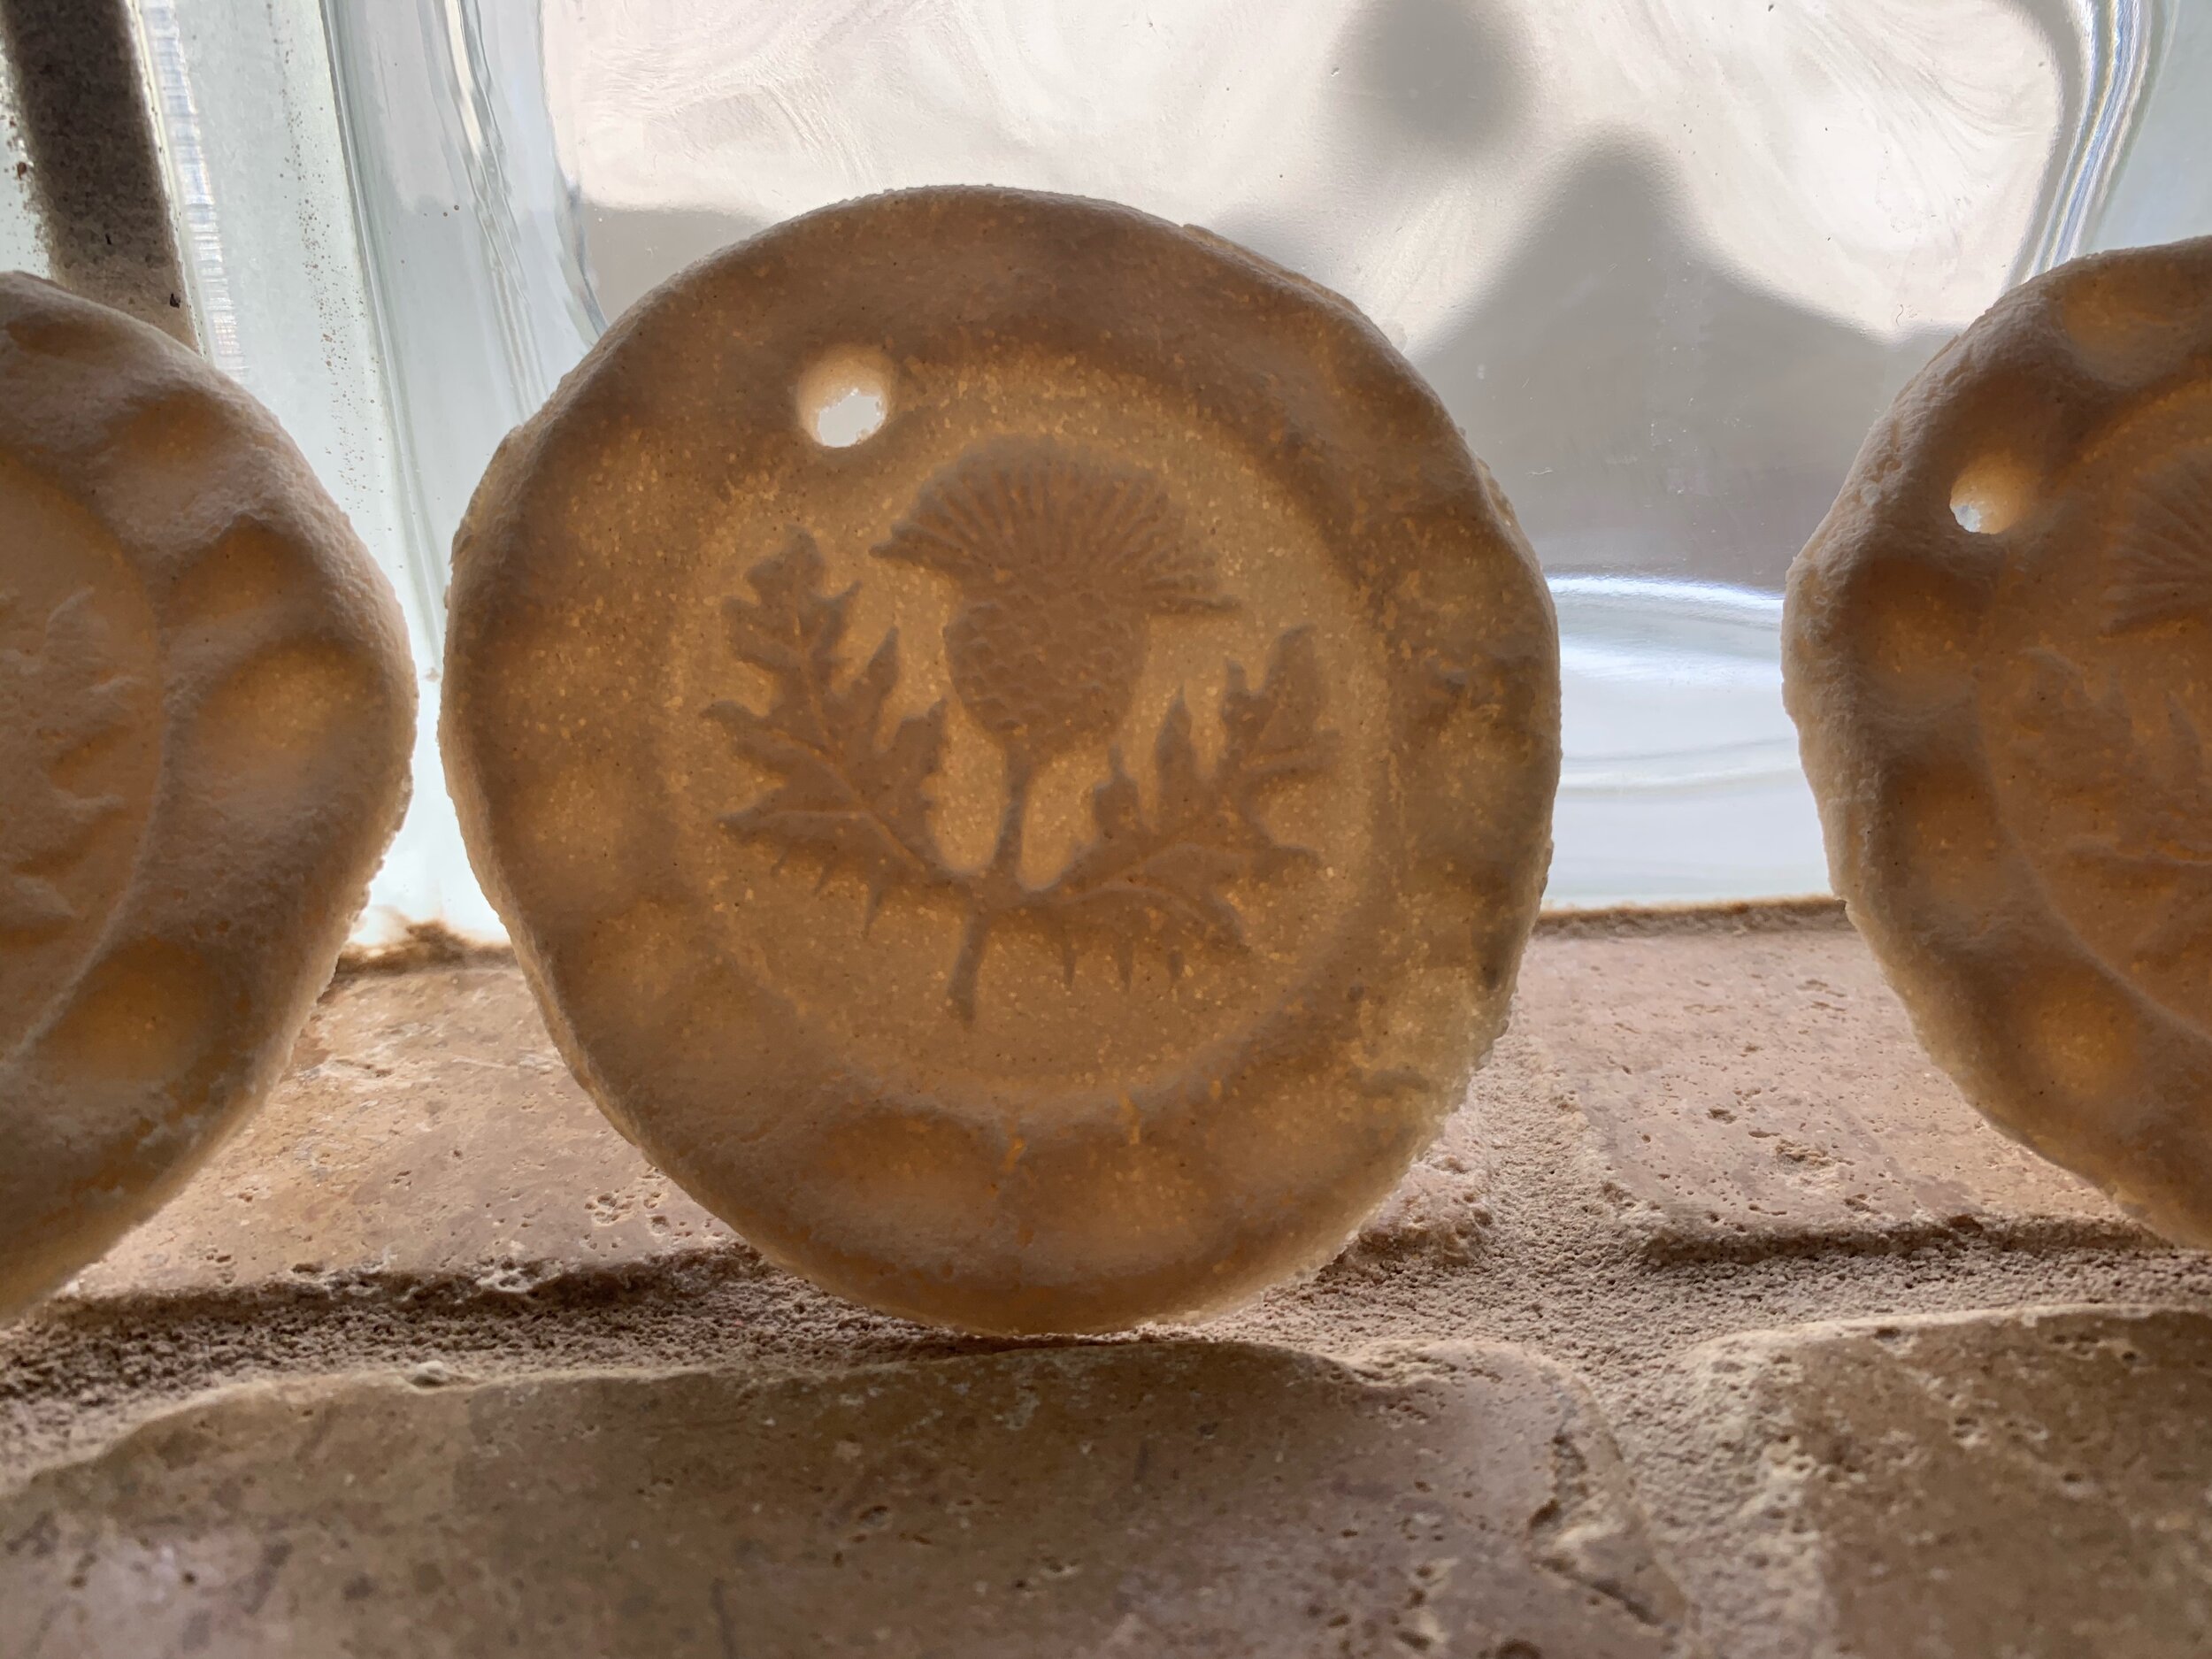
Second, we shaped the dough into creative shapes. We used cookie cutters, ravioli wheel cutter, and our fingers and hands. If you want to capture your little ones’ feet and hands this makes a great keepsake.

Thistle Salt Dough Ornament.jpeg

Third, we baked the ornaments on low heat for several hours (oven at 250 for about 2 hours).  Then we let the baked ornaments rest on the kitchen countertop overnight.

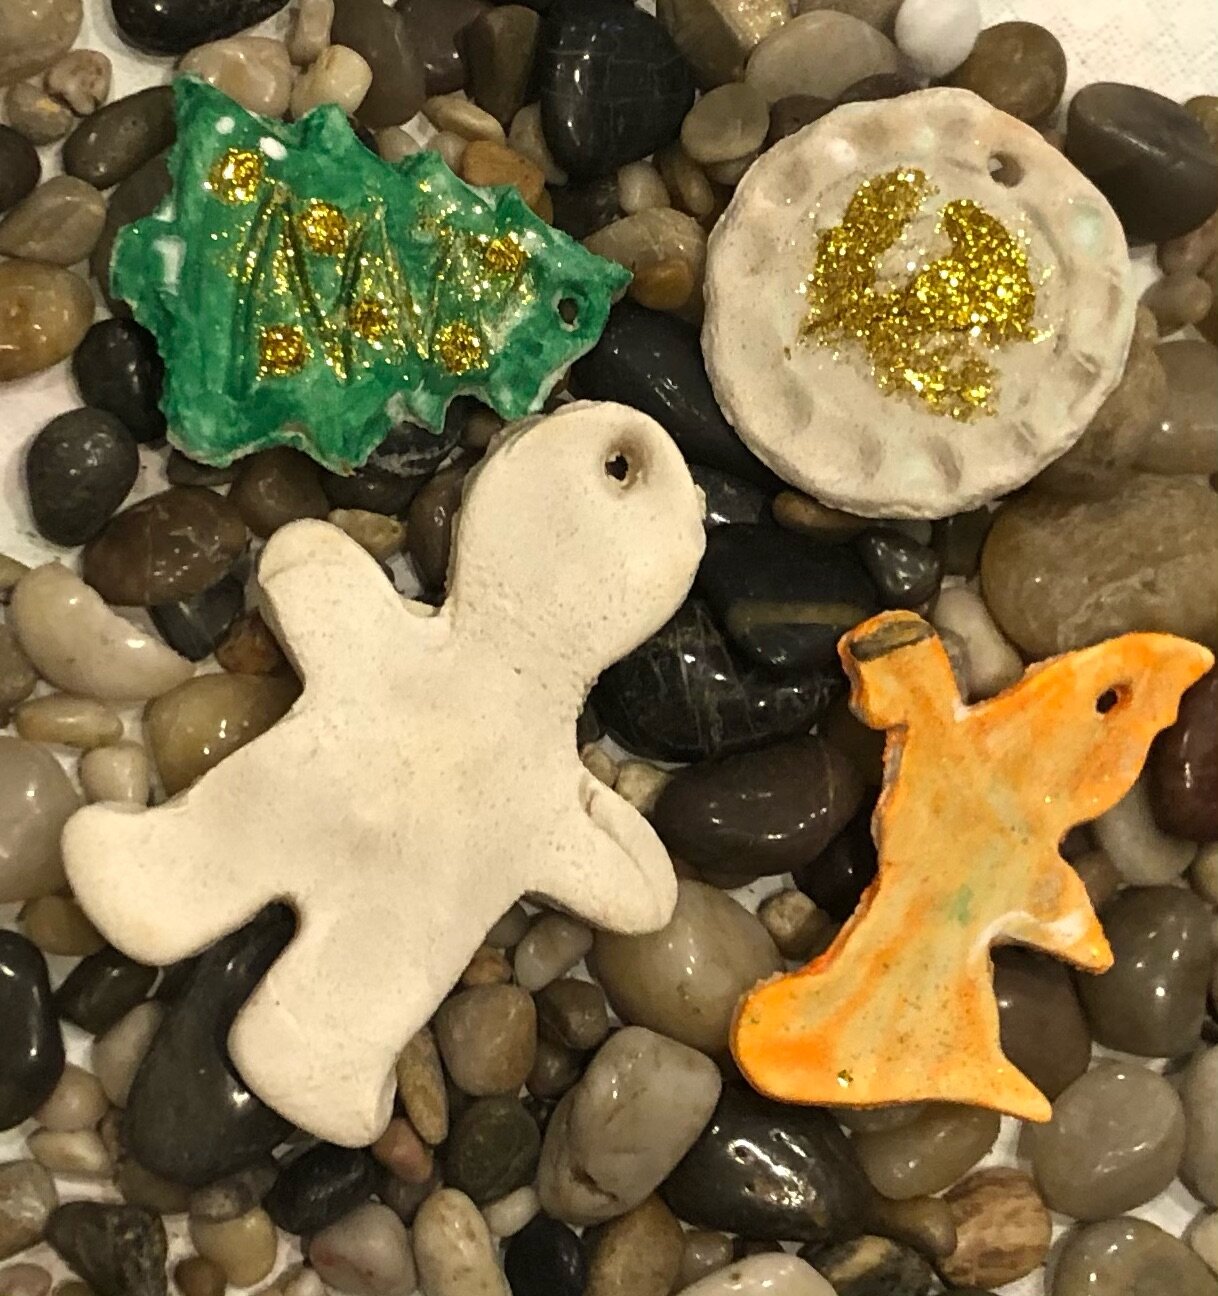
Fourth, the next day we decorated our homemade salt dough ornaments. You can use a glue/water glaze or Modge Podge to preserve your art.

Ornaments.jpeg

Wishing you the joy of the season with time spent with family and children.

Love,

Marisa


Salt Dough Recipe

2 cups all purpose flour

1 cup of salt

1 cup of water

I LOVE Bulletin Boards

I LOVE bulletin boards. There. I said it.

Some people collect objects. I collect pictures of bulletin boards. My students and friends send me pictures of bulletin boards to add to my collection. If you’re reading this and thinking, “Marisa Macy sure is strange” then you are 100% correct, my friend!

Bulletin boards are more than just the visual version of background noise in a busy school, classroom, hallway, or on a door.  To me bulletin boards are sources of beauty and inspiration. A masterpiece is created with just some paper, scissors, tape, push pins, and glue. Bulletin boards are gorgeous works of art that hang in an educational setting for a short time before they are torn down and replaced with a new one. Unlike Leonardo Da Vinci’s “Mona Lisa” with a permanent placement hanging in the Louvre, bulletin boards are only here for a short time. Maybe that is part of what makes them so special to me…the temporary nature of this art form. Beauty is found in the impermanence.

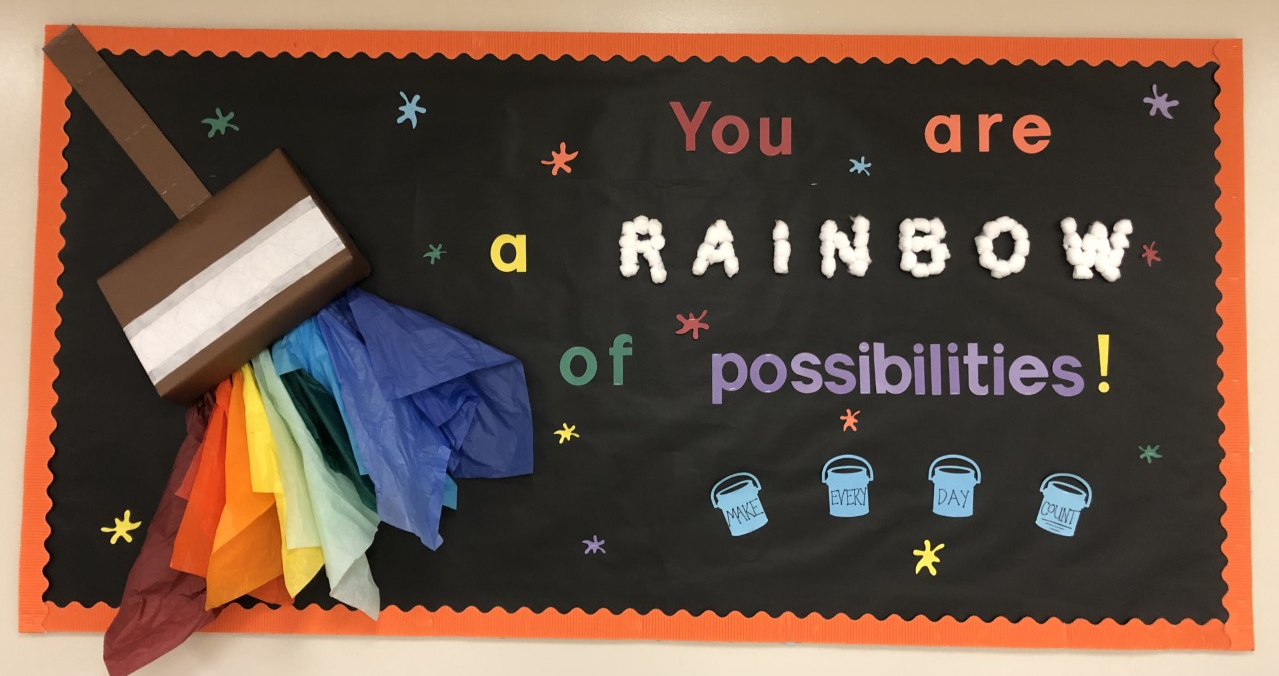
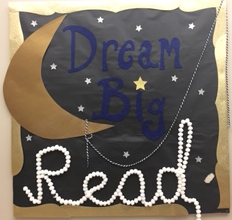
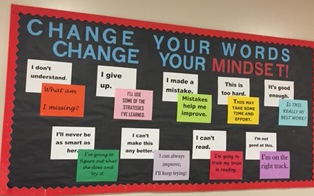
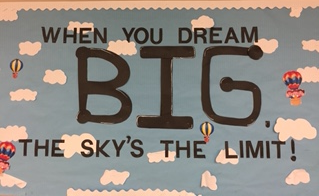
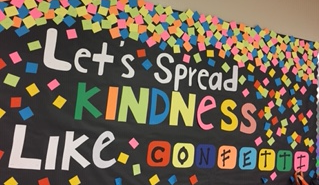
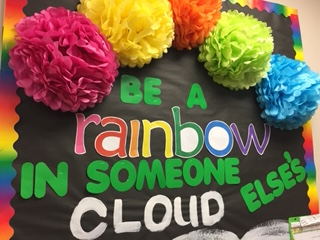
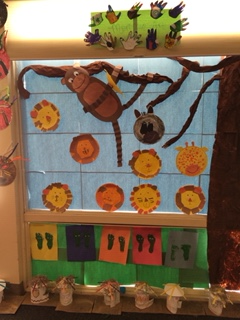
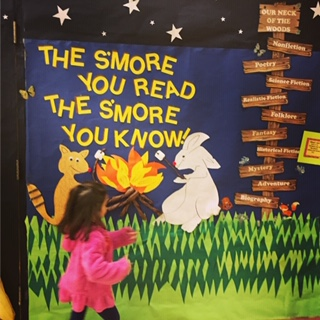
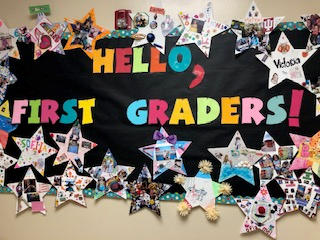
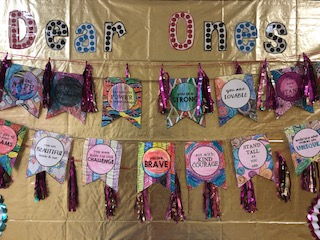
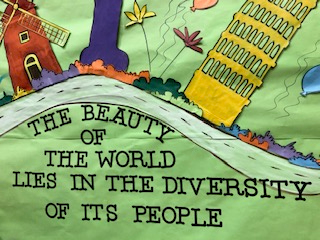
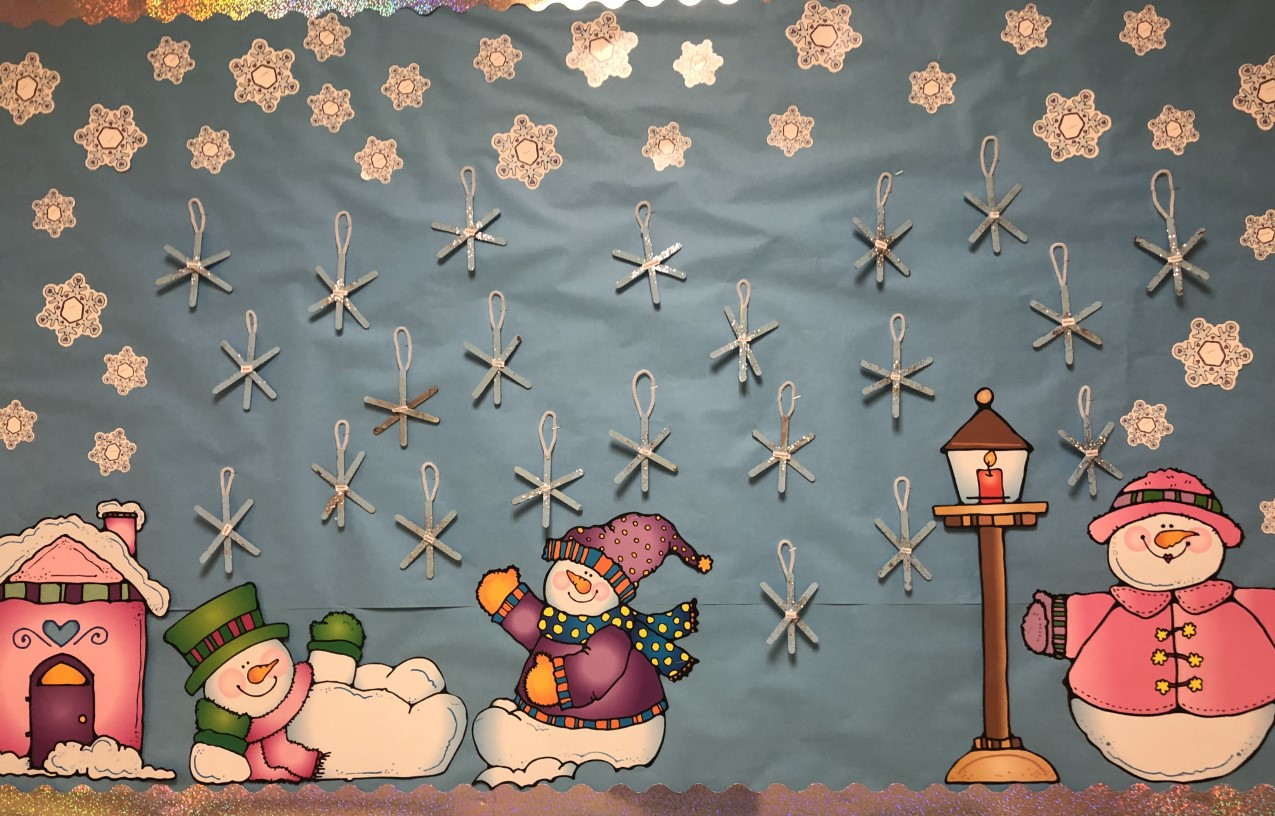
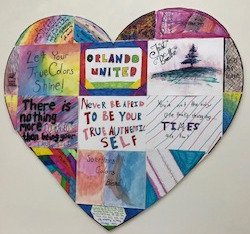
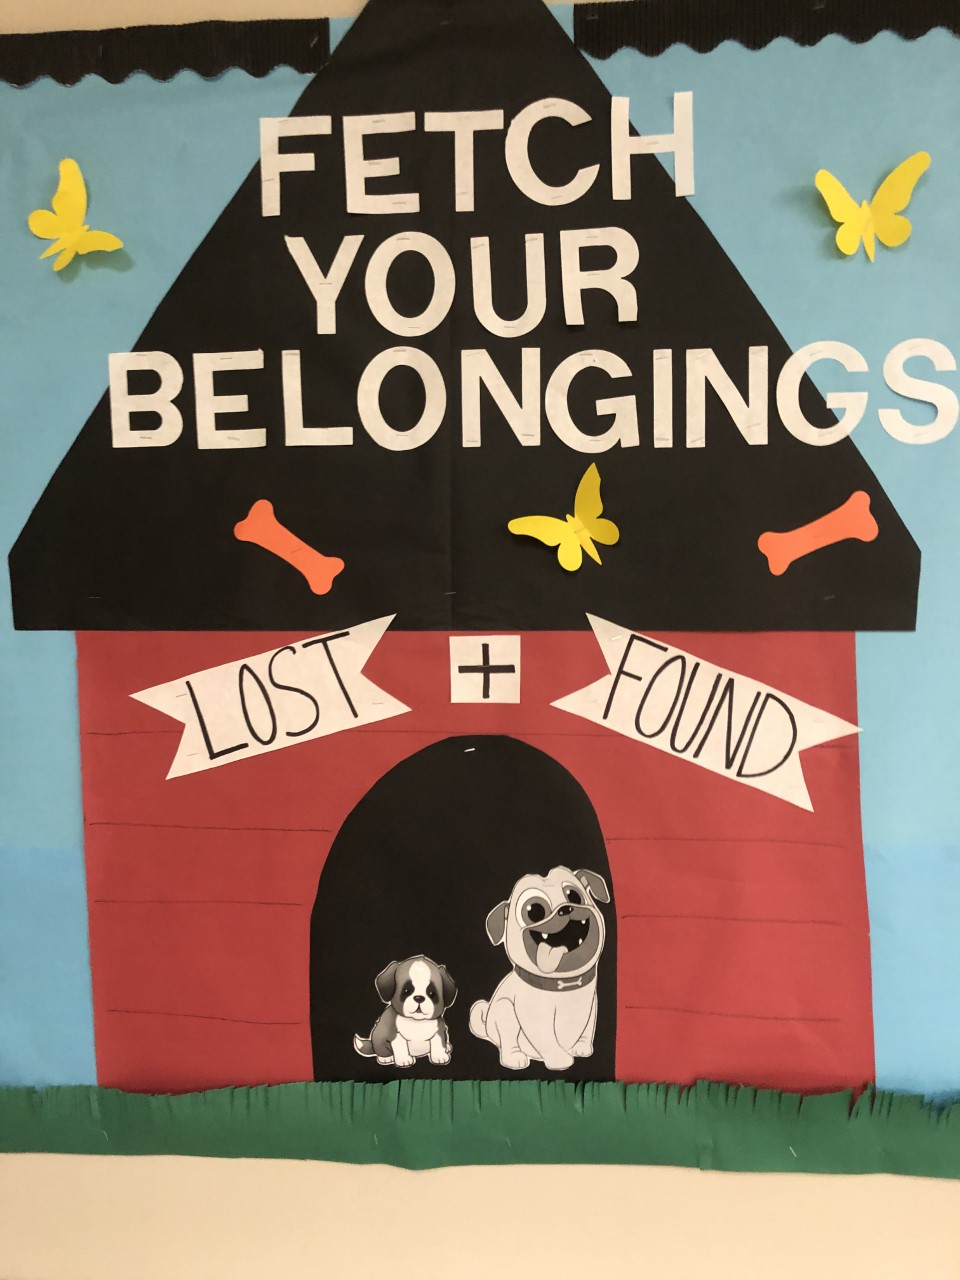
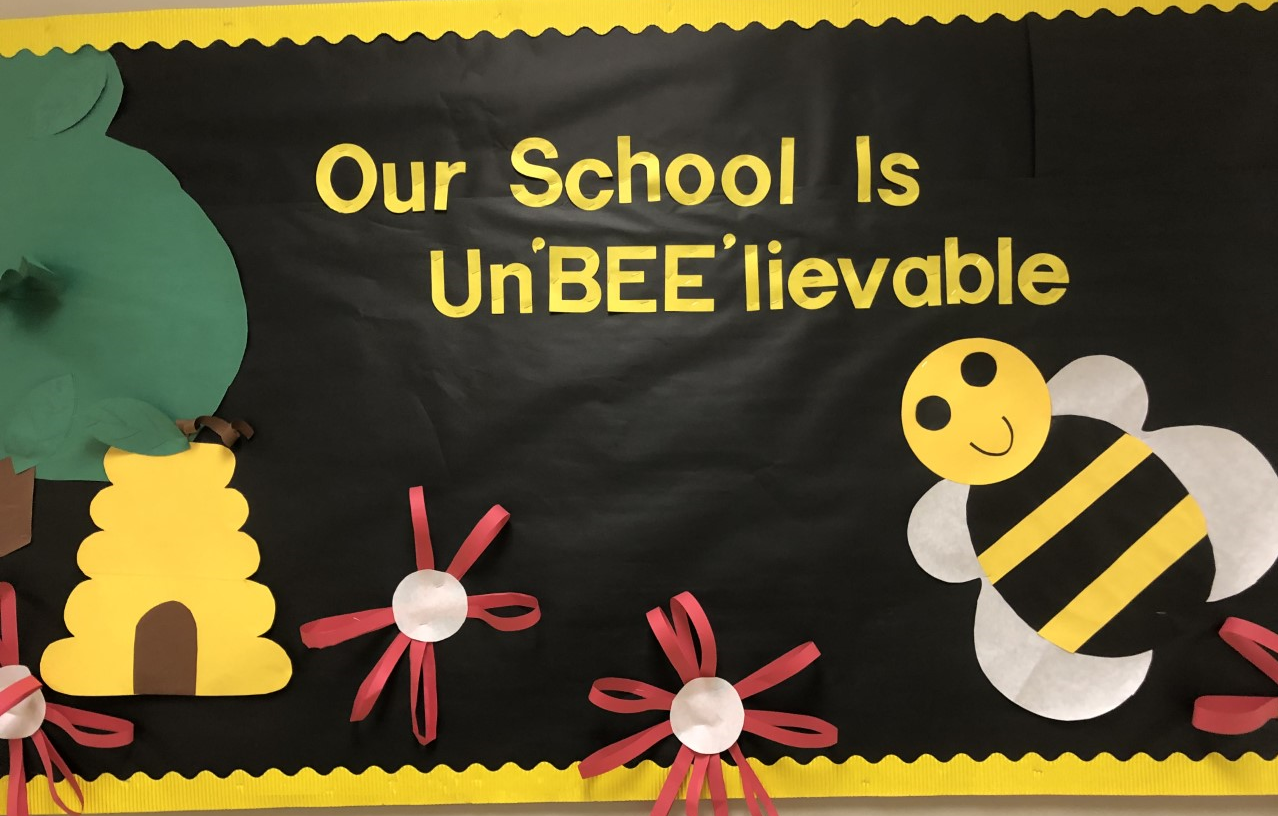
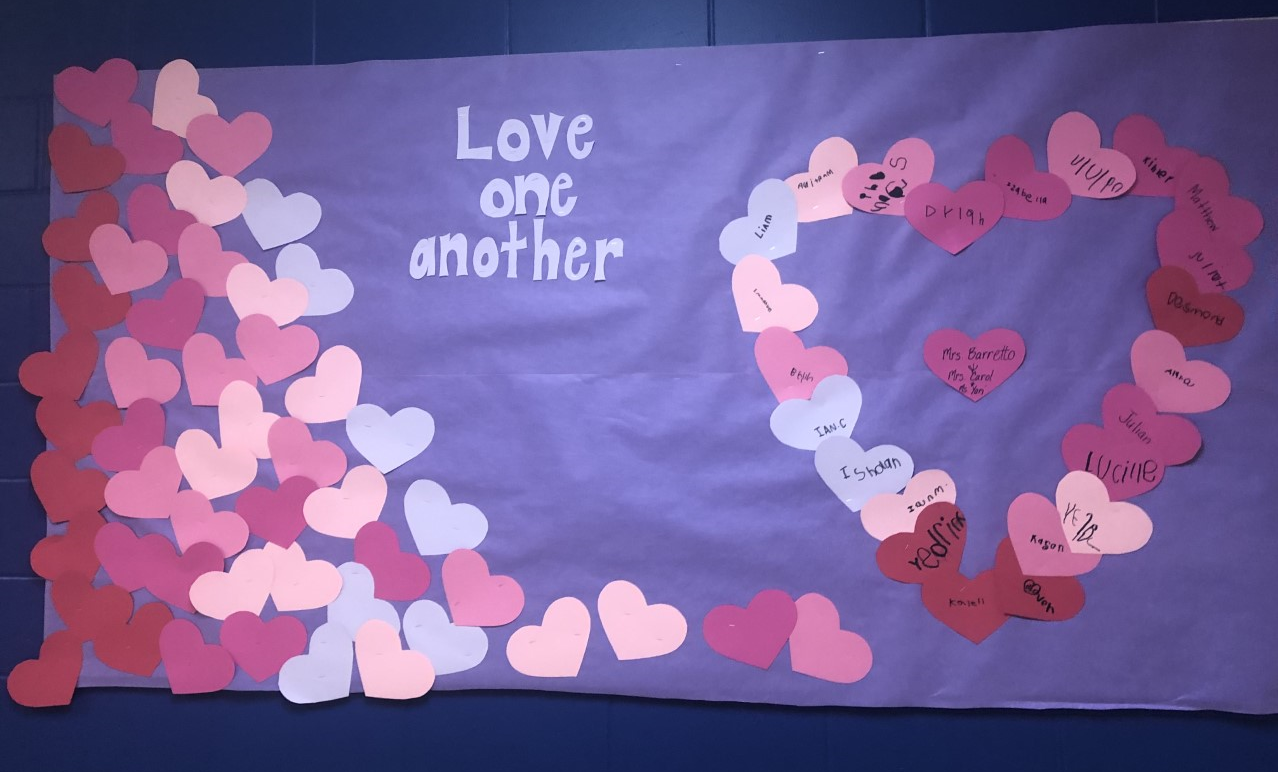
Here are some bulletin boards that I adore. Thank you to these bulletin board artists. Enjoy!

Artwork

“Would I be bad parent if I threw this away?” If you are a parent, you may have asked yourself a question like this. Or maybe I’m the only one who has questioned myself when deciding what to keep and what to toss. I’m talking about artwork. Can or should we keep everything our children make? There are only so many things to do with kid artwork. Or is there?

Before tossing that masterpiece, see if one of these might work…

  • Frame the art to hang on the wall at your child’s eye level

  • Make a calendar of your child’s art

  • Put the art in a storage bin under the bed

  • Turn the art into a coffee mug

  • Make a scrapbook from the art

  • Use the art for your holiday cards to highlight your child’s work

  • Put it on the refrigerator to make an art gallery

  • Display 3D art (e.g., pottery, soap sculptures, etc.) in the home

  • Use the art to give a gift to someone

  • Collect the art for a portfolio

  • Take a digital photo of the art and make an e-portfolio

  • Tape art to the windows around the house

  • Make stationery out of your child’s art

  • Have an art show in your backyard where you celebrate the artist…all attendees can leave with some art

Do you have any ways you like to archive children's artwork? Please share. I’m starting to run out of ideas. Help!

Painting a wooden birdhouse

Painting a wooden birdhouse

Fancy Cancy

Decorations for a party can get expensive. Make your own works-of-art when you decorate for a party. You and your child can get your creative juices flowing and enjoy making a project together.

Here is a craft for a table centerpiece called, Fancy Cancy. All you need is a clean empty can, paint, glue, scraps of fabric, and ribbon. First, glue fabric scraps around the sharp part of the can for safety. Then paint the outside of a clean can. Add ribbon and any other embellishments when the paint is done drying. Glitter and beads can add a finishing touch. Once the Fancy Cancy is done you can fill the can with your favorite party items (e.g., cut flowers from the yard, candy like tall red vines, decorated chop sticks, name cards, etc.).

Facilitate your child’s creativity by noticing what s/he is interested in talking about while creating art. You can make the Fancy Cancy together, or each person can have their own can to decorate. Have a party preparing for the party!

Fancy Cancy

Fancy Cancy

Marbled Art

You don’t have to be Martha Stewart to have a little fun with scissors, ink, and shaving cream. If you are looking for a fun activity to do this month with children, why not try the ancient craft of marbling in celebration of National Craft Month!

The art of marbling goes back centuries. It was used for official purposes and documents, as well as for decorative purposes. Marbling can be done in so many different ways. Marbled designs can be applied to paper, fabric, three-dimensional surfaces and more. No two designs are alike. Here is an activity to get you started making marbled art.

Materials: pan, shaving cream (the white foamy kind), food coloring/dye, paper, and toothpicks

Create: Spray the shaving cream into the pan. Add the food coloring to the shaving cream. Use the toothpicks to create swirls in the white shaving cream. Next, gently lay your paper on the surface of the marbled design you made. Lift the paper and scrape off any excess foam. Voila! You have marbled paper! Let the paper dry for at least a day.

When your paper craft is done drying you can make all sorts of things out of your designs. Stationery, bookmarks, and wall art can result from your marbling. L’arte d’arrangiarsi is an Italian phrase that means to create something from nothing. Create something beautiful today!

Marbled Art

Marbled Art